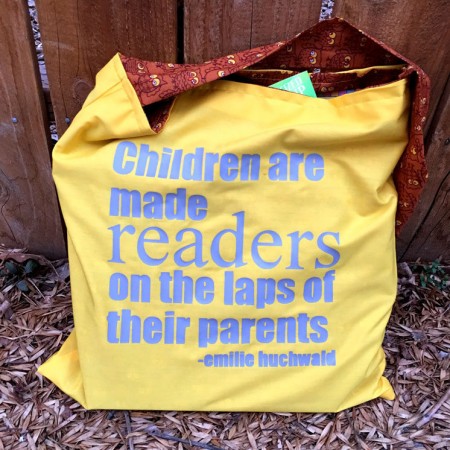
Reversible Kids Book Bag Tutorial
Make a reversible picture book bag with this kids book bag tutorial and also learn about a fun monthly children's book subscription called Bookroo.
Supplies
- 1/2 Yard Outer Fabric
- 1/2 Yard Inner Fabric
- Iron-On Vinyl optional
- Reading Design optional, just right click and save from this post
Instructions
- Cut Outer into two pieces each 16 inches wide x 17 tall. Make sure your fabric faces the right direction if it’s a directional print.
- Repeat with the Inner Fabric.
- Cut two strips fabric 6 inches wide by 17 tall. If you’re using quilting cottons that are 44 inches wide this should be the remaining fabric after you cut the outer and inner pieces. This can be out of either fabric this will be your strap fabric.
- With right sides together sew the sides and bottom edges of the outer fabric together. Repeat with the lining fabric.
- Turn the outer fabric right sides out.
- Sew the card holder on sewing down the sides and bottom edge. To keep the vinyl from sticking to the pressor foot place a piece of wrapping tissue paper in between the vinyl and the foot while you sew. When you are done just pull it off.
- Tuck the lining fabric into the outer fabric and iron down the top edge of both 1 inch. Set aside.
- Sew the two pieces of the strap together along the short edge making sure that your pattern will face the right direction when the strap is attached.
- Fold the strap in half lengthwise and sew down. Turn right sides out and iron.
- Tuck the ends into the side seams of the bag and sew all around the top edge making sure to catch the lining, outer fabric and the strap.
- If you want to add some vinyl do that now. See this iron-on vinyl tutorial if you’ve never tried that before.
Love this recipe?Follow @RaeGunRamblings or tag #RaeGunRamblings!