NO SEW HALLOWEEN TREAT BAGS TUTORIAL
Quick and Easy No Sew Halloween Treat Bags Tutorial
Supplies
- felt
- googly eyes
- glue I used my glue gun
Instructions
- Start by drawing your images. I made really basic shapes on scrap paper and then traced it onto the felt with a fabric marker. And the ghost was so basic that I just free handed that with scissors.
- Glue on the eyes and the face pieces.
- You want to cut strips of fabric that will be the body of the treat bag. Mine were 3 inches by 25 inches but you’ll want to base it on the size of your design pieces. It should be long enough to extend as a handle when positioned with your design pieces. Then overlap and glue the ends of each piece together to form a circle.
- Then with glue draw a U shape on the WRONG/inside side of your front design piece. Curve the strap circle so that it aligns with the glue and attaches. I like to use hot glue because it’s quick drying and strong.
- Now draw a line of glue on the edge of the strap piece just enough to attach the back piece. Attach the back piece.
- If you want a slimmer handle like I did fold it in have and with an angled cut slice off a little of the handle making sure not to cut the front or back piece.
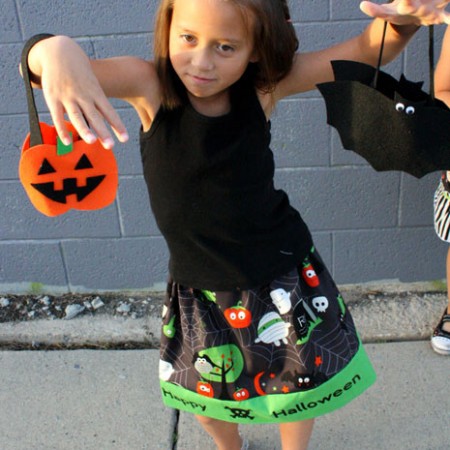
- Fill with treats and hand to your favorite spooky friend!
Love this recipe?Follow @RaeGunRamblings or tag #RaeGunRamblings!