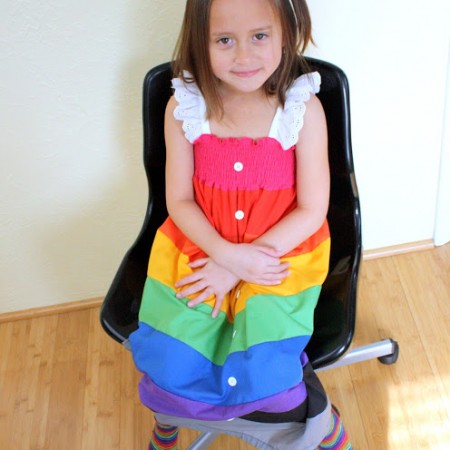
Rainbow Dress Tutorial
Instructions
- If you want to make your own Just measure your kid from shoulder to ankle and divide that by the number of sections (I had 9). T was about 34 inches so that had me rounding up to 4 inches per panel but you want to add an inch to the top and the bottom panels (my red and gray). Even though you measured from the shoulder with seam allowances this ends up working with the shoulder straps. Start off by sewing/serging each panel to each other so you have one big paneled rectangle.
- Next hem the top edge and then shirr the top panel (mine was the red one). If you haven’t shirred before check out my tutorial on how to shirr fabric. It’s very easy and so much cheaper than buying the pre-made stuff.
- Then finish the edges (that will become the back) with rights sides together sew the back leaving a slit.
- Fold the edges of the dress where the slit is and sew under to finish. Sew on a ribbon if desired. Hem. (Sorry I didn’t take any pictures of this step)
- Mark the center. I did so by folding and ironing down the middle. Sew on buttons. Iron the first ironing fold away. Use gathered eyelet for the straps. Have your little one try on the dress and measure how long the straps should be and mark their placement with a disappearing marker (on T’s I did them 10 inches so they ended up shorter once sewn on). Sew the straps on.
Love this recipe?Follow @RaeGunRamblings or tag #RaeGunRamblings!