iPhone Travel Pouch Tutorial from Scraps
iphone or ipod travel case. fun diy sewing tutorial you can make with fabric scraps
Supplies
- fabric scraps long piece 5×20 inches short pieces are each 5×5 inches
- scrap of ribbon
- small piece of rick rack
- 1 button
Instructions
- Sew the ends of the short pieces of fabric (this will be the bottom seam)
- Sew the other ends of the short pieces to the long piece. You will have a tube of fabric.
- With right sides together fold the fabric to align the outside pieces. You want the two short pieces to match up so the seam is at one end and the other edge of the short piece (my bird cages) lines up. See the 3rd picture.
- Pin so that fabric does not shift.
- Sew the two long edges leaving a small hole.
- Right side out the fabric and iron folding under the edges of the hole.
- Make a little tab by tying a knot in some ribbon and run the cut edge of the ribbon across a flame to keep it from unraveling.
- Line up the fabric so that the short edges of the bottom fabric meet and position ribbon. Stitch around the both side edges. Iron down flap.
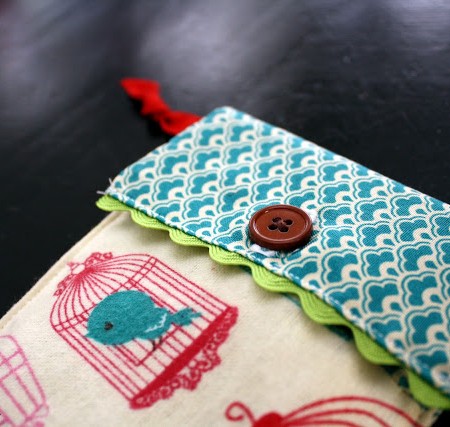
- Sew on rick rack to flap edge (if you want it to be extra pretty you can do this step before you flip the whole thing so it’s sandwiched nicely inside the layers but I decided to add this detail at the end).
- Sew on a button.
- Sew a buttonhole and cut.
Love this recipe?Follow @RaeGunRamblings or tag #RaeGunRamblings!