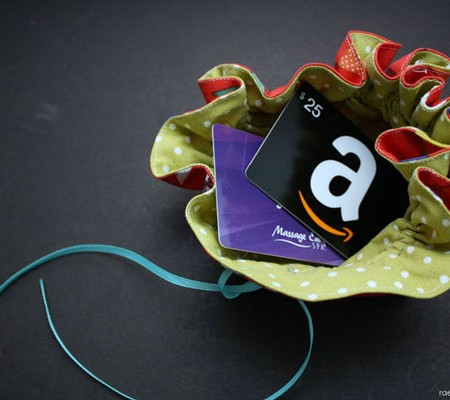
20 Minute Circular Pouch Gift Card Holder
How to make a cute DIY gift card holder. This 20 minute circular pouch can be reused after the gift giving is over.
Supplies
- Outside fabric – 11×11 inches
- Lining Fabric – 11×11 inches
- 1/2 inch or wider Casing Ribbon – 27 inches
- 1/8 inch Drawstring Ribbon – 1 yard
- Small safety pin it needs to be skinnier than the width of your ribbon.
Instructions
- Cut both fabric pieces into 11 inch diameter circles.
- With right sides together sew the fabric together using a 1/4 inch seam allowance leaving a 1 inch opening.
- Clip around the edges up to but not across to the stitching line.
- Turn your circle right sides out and press with an iron.
- Sew around the very edge of the circle to close up the hole.
- Run the edge of your ribbon across a flame to seal the edge.
- Lay the ribbon about an inch from the edge of your circle. Sew down along the very edge of your ribbon.
- Repeat on the other edge. This will make a casing for your drawstring. Make sure to pick a ribbon wide enough to thread your drawstring ribbon through and try to sew at the edge to leave enough space.
- Using a small safety pin to thread your drawstring ribbon into the casing.
- Fill with an awesome gift card!
Love this recipe?Follow @RaeGunRamblings or tag #RaeGunRamblings!