30 Minute EASY Blanket Tutorial
Use this 30 minute easy blanket tutorial for fast DIY gifts and the best snuggly blankets for the whole family. Great beginner sewing project.
Supplies
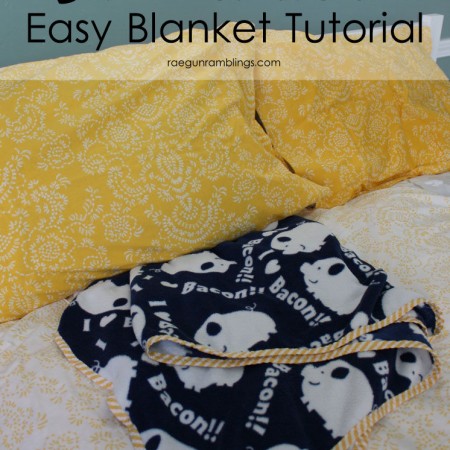
- 1.5 yards Fleece about 54×60 inches
- 6.5 yards Double Bias Tape or fabric to make bias tape and a bias tape maker
Instructions
- If you are making your bias tape do that. I LOVE my bias tape maker. I don’t actually cut the fabric on the bias for blankets like this and it works fine. Otherwise sew the short ends of your bias tape together right sides together so you have a long length about 6.5 yards long.
- Sandwich your fleece in between your bias tape. Feel free to pin if that’s your thing but I just kinda sandwich and hold as I go.
- Now zig zag the bias tape down. I like to use a zig zag stitch since it’s forgiving if your fabric slips a bit so it catches a wider area but you can really use any stitch you like including fun decorative stiches. You just want to make sure you’re catching all three layers (top bias tape fold, fleece, and bottom bias tape fold).
- If you cut curves you’ just go all the way around. If you have corners fold them under to make the corner triangle and continue sewing on the next side.
- When you get to where you started (I like to start on a straight side (NOT a corner or curve) then fold under some of the bias tape and sew a bit over where you started making sure to back stitch.
Notes
A word about fabric. Most fleece is about 60 inches don’t worry if yours is a little bigger or smaller. It’s a snuggly blanket not a tailored bathing suit. I especially like the “snuggle fleece” or “anti-pill fleece” which is just a little extra cuddly and doesn’t pill up. If your fabric has a selvage edge just trim that off before you start. You can either round the corners so you don’t have to deal with corners or you can tuck the edges under to form a little triangle when you get to the corner. To round the corner just place a bow on the edge as a cutting guide. See how to round the edges in this post.
Love this recipe?Follow @RaeGunRamblings or tag #RaeGunRamblings!