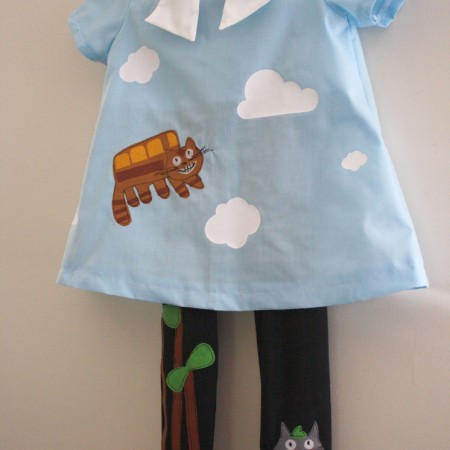
How to Applique Tutorial
Learn how to make a DIY fabric applique and how to sew it too.
Supplies
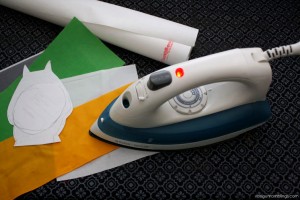
- Heat’n Bond
- Fabric
- Design shape stencil, or cutting machine
Instructions
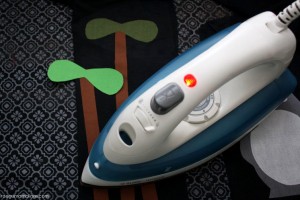
- Start by ironing your heat’n bond to the WRONG (that is the ugly, back side) of your fabric.
- Now your fabric will be backed with paper that once your shape is cut out you will peel off to reveal more adhesive. This paper can be drawn on to add your design but if you do that make sure to mirror your image or any text since the fabric side will come out reversed.
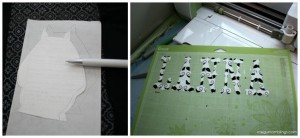
- Transfer your design to your applique fabric. You can use a stencil, draw it on, or use a cutting machine to run it through a Cricut or similar cutting machine. To use a cutting machine I’ve found if you run it through on the vinyl setting with the FABRIC side up (that is the paper side down). For the Totoro and Cat Bus designs I just drew them onto the paper backing.
- Cut your fabric either by hand with scissors, exacto knife or with a cutting machine.
- Peel the paper backing off of your paper and lay it onto whatever you want the applique on and iron it with a press and hold motion as opposed to a dragging motion. In my case the tunic and leggins. I find it helpful to add the applique before assembling your project or in the middle if you need to put pieces together. Really just think through what steps there are and what access you’ll have. For my tunic I sewed the whole thing up then added the applique. For the leggins I did the first few steps of sewing and then added the applique before sewed the leg seams since it would have been impossible to get my sewing machine into the leg hole to top stitch.
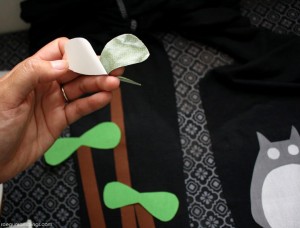
- If you are layering or have different colors do that and assemble your design. For Totoro did the gray first then the white then the black and green.
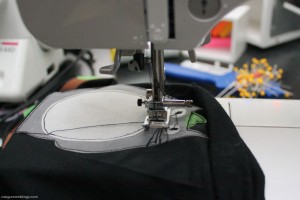
- Top stitch. If you use the ultra hold strength heat’n bond it’s supposed to not require stitching but I like the look of top stitching. The ultra hold kind stays stiff so if you want something more flexible stick to the light kind. I prefer to do a straight stitch around the edge of any large pieces then I just leave the smaller pieces to stick with the heat n bond. I also like to just pick up my needle and move it form place to place and then trim it all at the end. For a more classic look you can use a zig zag stitch or a satin stitch a very close set all around the edges. It’s just a matter of preference.
Love this recipe?Follow @RaeGunRamblings or tag #RaeGunRamblings!