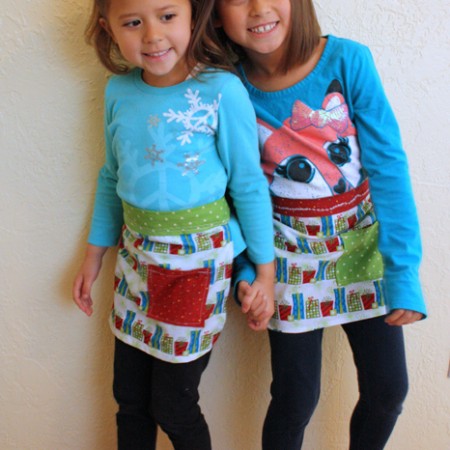
10 MINUTE KID APRON TUTORIAL
Free Kid's Apron Sewing Pattern
Supplies
- Main apron fabric 17 X 11 inches A fat quarter should work unless it is a directional print.
- Strap fabric 5 X 44 or longer inches
- Pocket 5.25 X 5.25 inches give or take
- Apron Pattern get it here
Instructions
- Cut all apron pieces. My main apron pattern piece is mostly an 8.5 X 11 inch paper with a curve at the bottom and then cut on the fold. You can make your own with that same idea or get my child sized apron pattern.
- Start by ironing the edges of your pocket piece down about 1/2 inch on all sides.
- Sew along one edge with a 1/4 seam allowance. This will be the top edge of your pocket.
- With right sides together iron you strap piece in have lengthwise.
- With a 3/8 seam allowance sew down the long edge of the folded strap along the raw edge.
- Flip the strap right side out and iron.
- Next serge or zig zag around the edges of the main apron fabric.
- Fold under, pin, and sew down the sides and around the bottom. For a prettier finish fold twice. We only did one fold and they are fine.
- Pin the pocket to the front of your apron how ever you would like and sew down the three edges leaving the top edge open.
- Next pin the waist band to the apron main piece overlapping about 1 inch.
- Sew to attach the waist band to the apron main piece. We used fun decorative stitches.
- Lastly tuck in the ends of your strap and sew a row of stitches across to close.
- Tie on and bake something awesome!
Love this recipe?Follow @RaeGunRamblings or tag #RaeGunRamblings!