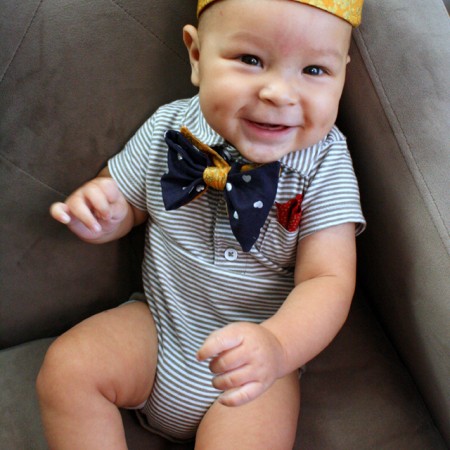
How to Make a Fabric Crown
15 Minute Free Crown Pattern baby to adult size
Supplies
- Crown Pattern download the free pattern
- Fabric 4 inches wide by the length of the bolt you’ll need fabric for both the front and the back
- Fabric Marker optional
Instructions
- I prefer to lay the pattern down and trace it with a fabric marker and then cutting since I think sometimes trying to cut around a pattern for corners can be hard not to cut through. I cut the full length of my fabrics (44 inches) which was enough to make a crown for Teddy and me. But if you are using scraps you just need the length to be 1 inch longer than the circumference of the head you’ll be putting it on.
- Once you have both pieces cut. Sew with right sides together along just the pointy edge.
- Next snip at each point and corner. You want to snip up to the sewing line but not over. This will make it so that you get nice clean points when you flip it.
- Turn right side out and iron. If you need help getting your points out first make sure your snip is good through both layers and up to the sewing line but you can also use a point turner or even a mechanical pencil tip to push out your corner. Iron really well
- Fold the fabric back so it’s right sides together but DO NOT push back the points and sew down the straight edge.
- Then turn the tube that you’ve made right side out and iron. The pointy edge should still be good to go.
- Fold under one edge 1/2 inch and iron and then tuck the raw edge 1/2 inch into the folded edge of the other side to form the crown. If you measured correctly this should fit but you can try it on at this point to double check.
- Finally sew down where the fabric is tucked in making sure to catch all 4 layers.
Love this recipe?Follow @RaeGunRamblings or tag #RaeGunRamblings!
