
Whether you need a princess crown, a Christmas crown, or just want a fun alternative to the classic birthday hat, today I’ve got a great quick tutorial for how to make a crown complete with a free crown pattern.
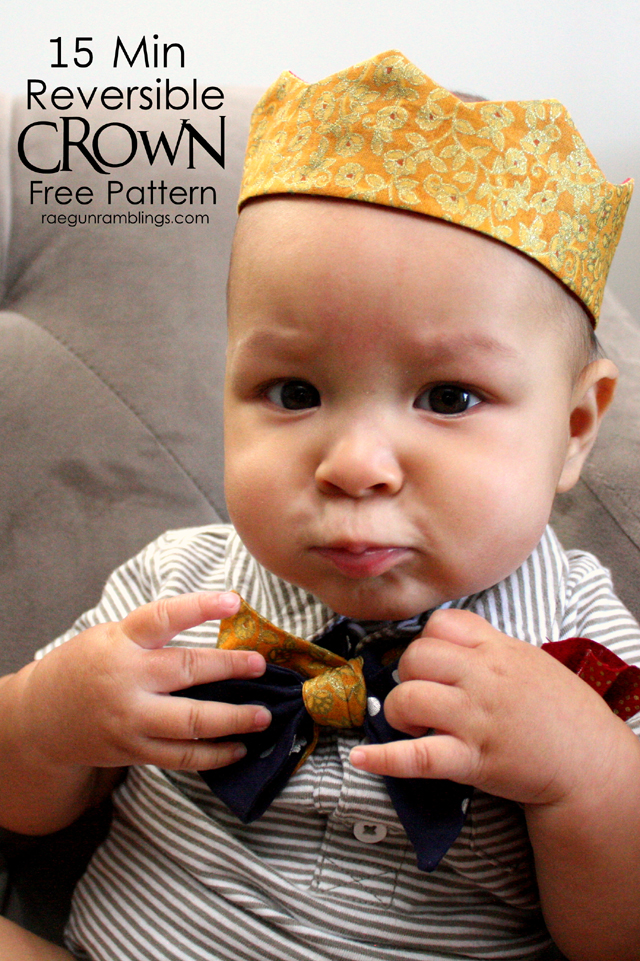
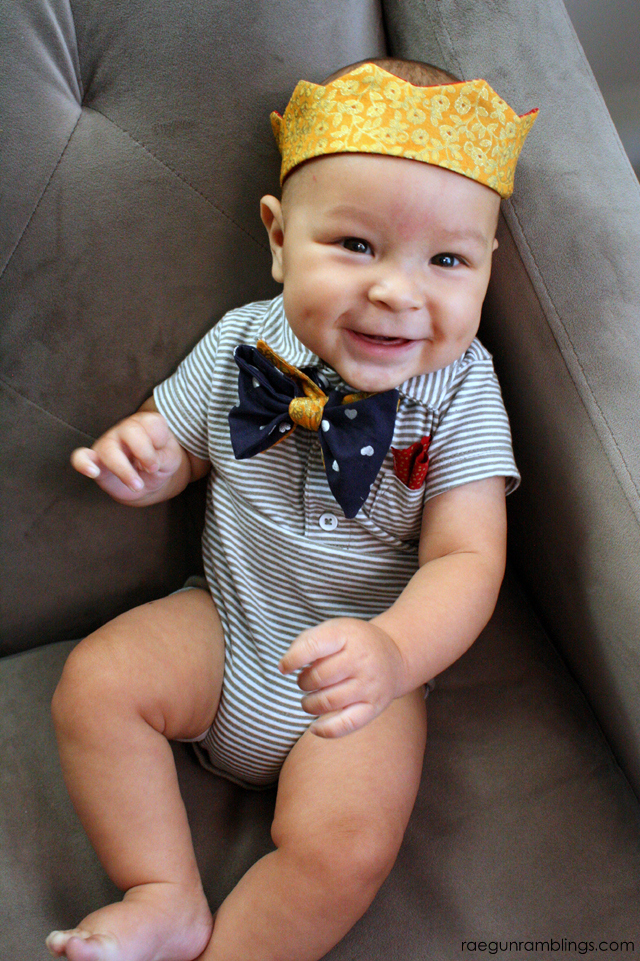
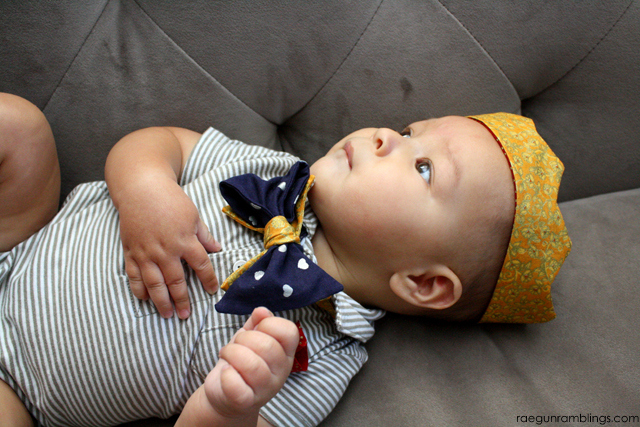
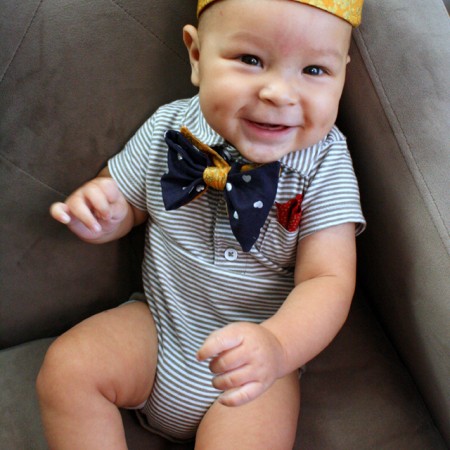
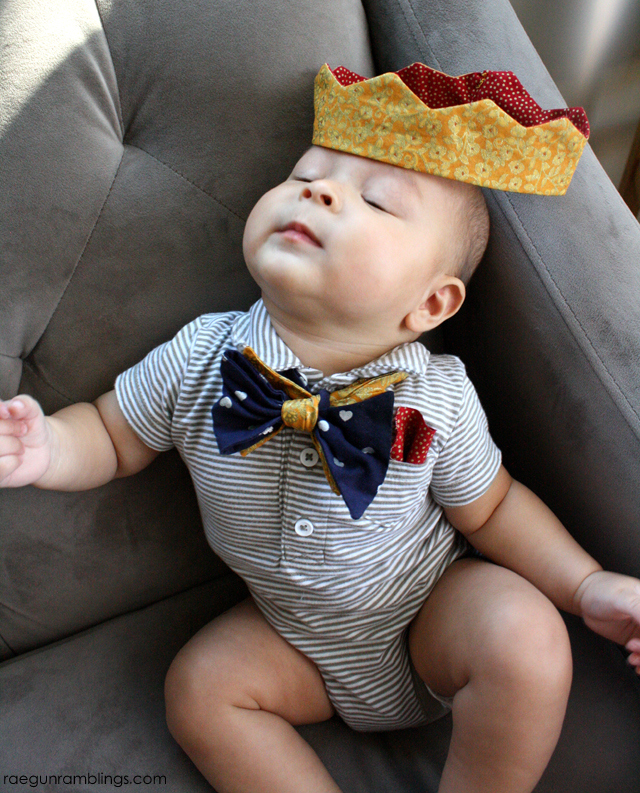
I know a lot of you will be sewing up princess dresses and fairy outfits or maybe even some princely knights and kings over the next couple months so I thought I’d share a super easy 15 Minute Crown Tutorial! This easy crown is great because it works on wee ones like baby Teddy but can also be lengthened for adult heads.
I’m not going to say that there are mommy and me crowns in our house but there might be ;)
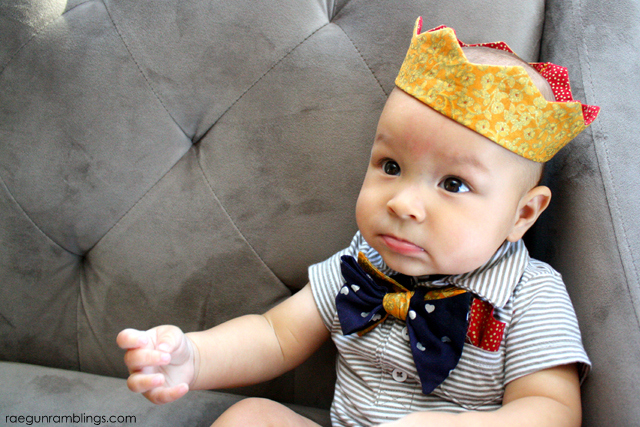
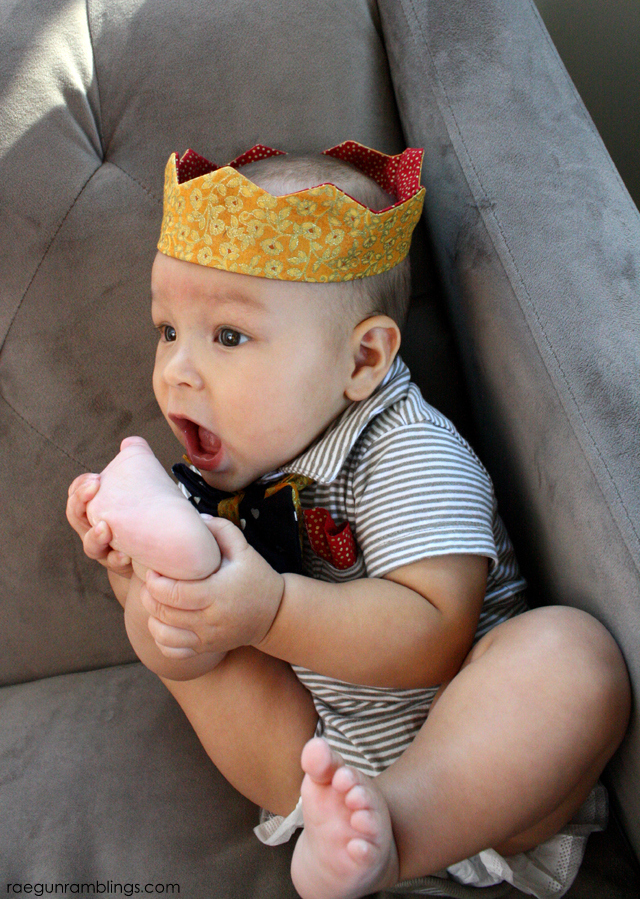
I found some awesome metallic accented quilting fabric that I fell head over heels with at Jo-Ann Fabrics and Crafts. I may have bought the rest of the bolt of the yellow one shh don’t tell. But this tutorial can be used with pretty much any fabric but I am a big fan of the variety of prints you can get and the weight and structure you get when using quilting cottons.
Download Free Crown Pattern Template
The simple crown pattern is available for free download to my newsletter readers. If you are already a subscriber find it on my downloads page remember the password for access is at the bottom of every email. If you’re not a subscriber you can sign up now.
How to Make a Fabric Crown
This basic crown is fitted so you’ll need to know the measurement for your prince or princess’s noggin. By changing up the fabric you can use it as a Christmas crown, match it to all sorts of birthday party themes, or just as a great addition to the costume collection for the kiddos to play dress up with.
What You Need to Make a Birthday Crown
- Crown Pattern (download it here)
- Fabric (you’ll need fabric for both the front and the back)
- Fabric Marker (optional)
How to Make a Crown
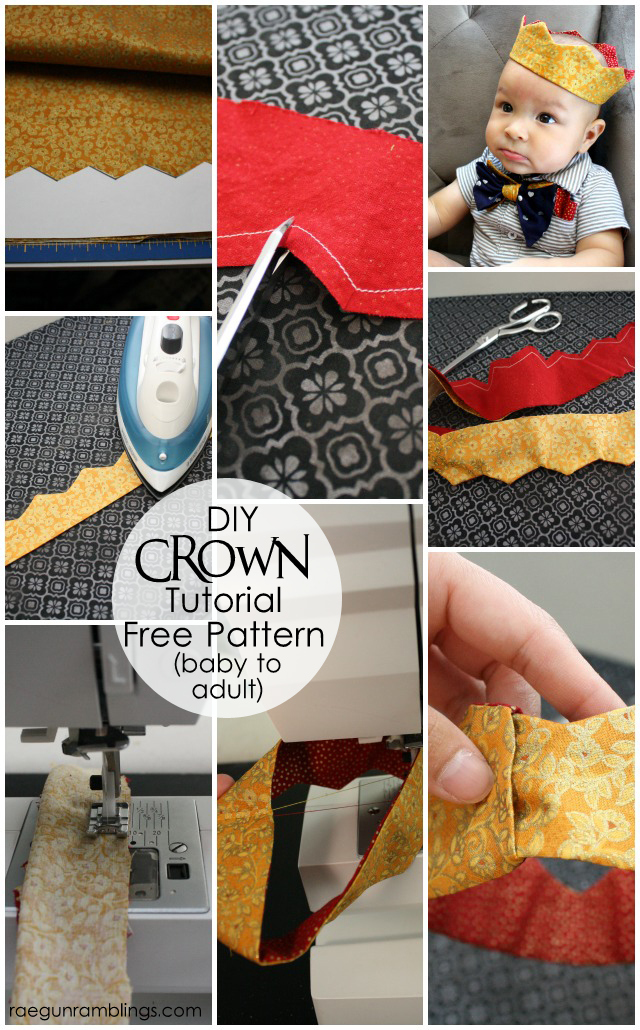
- I prefer to lay the pattern down and trace it with a fabric marker and then cutting since I think sometimes trying to cut around a pattern for corners can be hard not to cut through. I cut the full length of my fabrics (44 inches) which was enough to make a crown for Teddy and me. But if you are using scraps you just need the length to be 1 inch longer than the circumference of the head you’ll be putting it on.
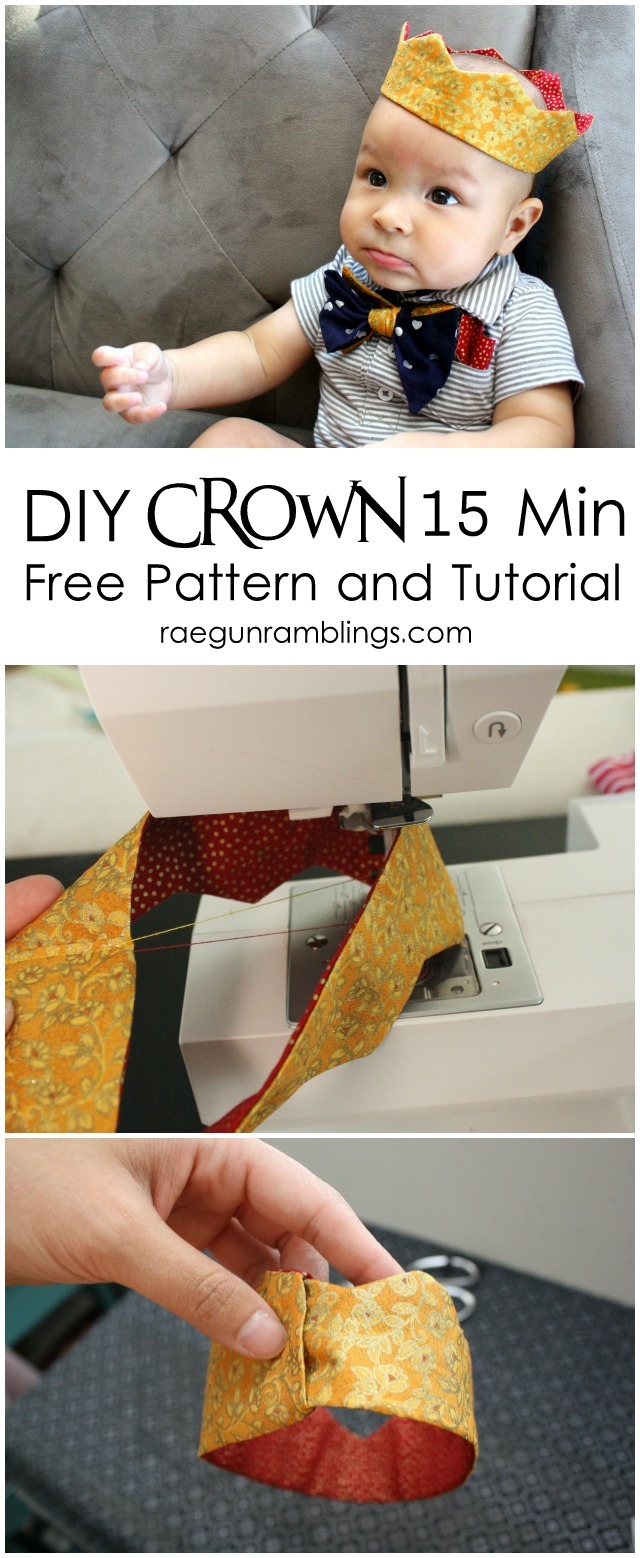
- Once you have both pieces cut. Sew with right sides together along just the pointy edge.
- Next snip at each point and corner. You want to snip up to the sewing line but not over. This will make it so that you get nice clean points when you flip it.
- Turn right side out and iron. If you need help getting your points out first make sure your snip is good through both layers and up to the sewing line but you can also use a point turner or even a mechanical pencil tip to push out your corner. Iron really well
- Fold the fabric back so it’s right sides together but DO NOT push back the points and sew down the straight edge.
- Then turn the tube that you’ve made right side out and iron. The pointy edge should still be good to go.
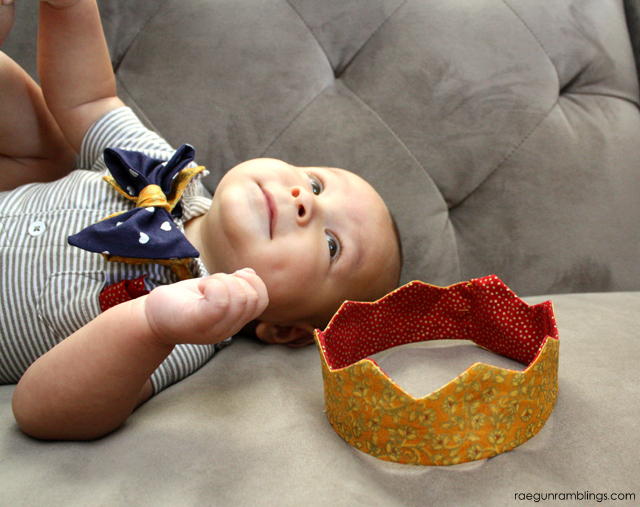
- Fold under one edge 1/2 inch and iron and then tuck the raw edge 1/2 inch into the folded edge of the other side to form the crown. If you measured correctly this should fit but you can try it on at this point to double check.
- Finally sew down where the fabric is tucked in making sure to catch all 4 layers.
One tip I have if you want to be able to extend the crown in the future as your child grows is to cut the length with 2 inches instead of 1 inch that way when it gets too small you can just unpick that last row of stitches pull the tucked edge out a bit and re-sew.
But let’s be honest the crown is so easy to make that if you really want another one when the little majesty is bigger you can quickly whip one one!
How to Make a Fabric Crown
Supplies
- Crown Pattern download the free pattern
- Fabric 4 inches wide by the length of the bolt you’ll need fabric for both the front and the back
- Fabric Marker optional
Instructions
- I prefer to lay the pattern down and trace it with a fabric marker and then cutting since I think sometimes trying to cut around a pattern for corners can be hard not to cut through. I cut the full length of my fabrics (44 inches) which was enough to make a crown for Teddy and me. But if you are using scraps you just need the length to be 1 inch longer than the circumference of the head you’ll be putting it on.
- Once you have both pieces cut. Sew with right sides together along just the pointy edge.
- Next snip at each point and corner. You want to snip up to the sewing line but not over. This will make it so that you get nice clean points when you flip it.
- Turn right side out and iron. If you need help getting your points out first make sure your snip is good through both layers and up to the sewing line but you can also use a point turner or even a mechanical pencil tip to push out your corner. Iron really well
- Fold the fabric back so it’s right sides together but DO NOT push back the points and sew down the straight edge.
- Then turn the tube that you’ve made right side out and iron. The pointy edge should still be good to go.
- Fold under one edge 1/2 inch and iron and then tuck the raw edge 1/2 inch into the folded edge of the other side to form the crown. If you measured correctly this should fit but you can try it on at this point to double check.
- Finally sew down where the fabric is tucked in making sure to catch all 4 layers.
Need something to pair with a crown? I did an awesome round up of some of my favorite Princess Dress Tutorials and Inspiration!
I couldn’t resist including some Teddy out takes. He was a crazy face while I was trying to take pictures. But a cute crazy face!
Thanks so much to Jo-Anns for providing a gift card for me to buy supplies for this post!


Anne says
He gets cuter and cuter and cuter!! The crown slays me!! I’ve posted a link to your pattern over at Craft Gossip: http://sewing.craftgossip.com/free-pattern-15-minute-fabric-crown-plus-a-roundup-of-princess-dress-tutorials/2014/09/15/
–Anne
Cassandra Hodges says
Super cute! And so is the crown :)