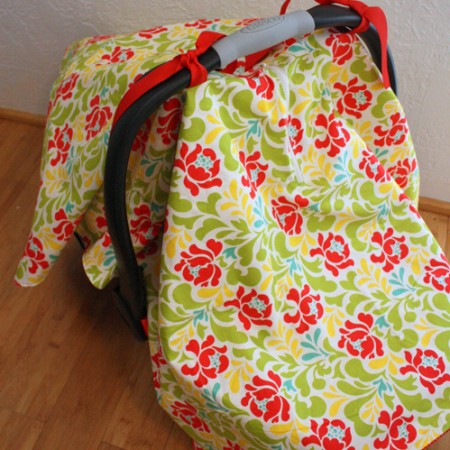
Basic car seat cover tutorial with simple zipper peep hole
Zipper Car Seat Cover Tutorial
Supplies
- 1 yard outside fabric
- 1 yard underside fabric
- 14 inch zipper
- 2 pieces of ribbon each 22 inches
Instructions
- Pin your fabric together right sides together. This will show you if the fabric lines up. You can trim them to match or just pin them so that the excess hangs outside the stitch line.
- Using something circular like a bowl mark round corners.
- See around all the sides leaving a 2 inch gap on one of the straight sides for flipping.
- Turn right side out and iron.
- Top stitch making sure to close the gap. If you don’t want to add a zipper skip down to Step 10.
- To add the zipper mark the center of the cover (you’ll want to have the fabric positioned with the smaller side up). I drew a line a little shorter than my zipper and then made a Y at both ends.
- Pin around the line just so fabric doesn’t shift when you’re working with it and cut through both layers.
- Tuck under and iron to make a space for the zipper.
- Sandwich in the zipper and pin. Sew around all sides.
- Mark where you want your ties. I put mine halve way down the cover a few inches out from the zipper. But the positioning depends on the shape and position of your car seat handle.
- Sew your straps down and you’re good to go.
Love this recipe?Follow @RaeGunRamblings or tag #RaeGunRamblings!