Picnic Placemats Tutorial
How to make Picnic Placemats.
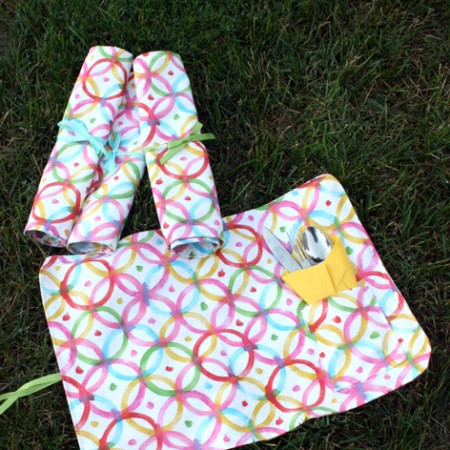
Supplies
- Fabric each placemat uses 2 pieces of 15 x 18 inches for the main piece and 5 x 7 piece for the pocket
- 22 inches of ribbon for each placemat
Instructions
- Start by rounding the corners of the placemat. I do this by tracing something circle shaped (like a cup or ribbon package) with a fabric marker.
- Iron one short edge of the pocket down 1 inch and the other edges about 1/4 inch
- Sew across the 1 inch side.
- Pin each pocket in place on the front side of the placemats.
- Fold the ribbon in half and place the folded edge on the opposite side of the pocket having the tails face inward and a small bit of the folded edge sticking over the edge.
- Put a back piece of the pocket right side down so the two pieces should be right sides together and the ribbon is sandwiched between the two pieces of fabric.
- Sew around the edges leaving a 5/8 inch seam allowance and a small opening to flip the placemats.
- Flip the placemat right side out. I like to use a loop turner for this task.
- Iron tucking the hole in and then top stitch around closing up the opening as you go.
Love this recipe?Follow @RaeGunRamblings or tag #RaeGunRamblings!