
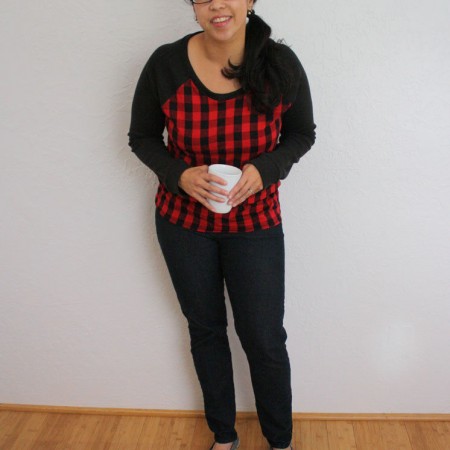
Learn how to sew a raglan shirt. Baseball style shirts are flattering on all body types and ages and so easy to make.
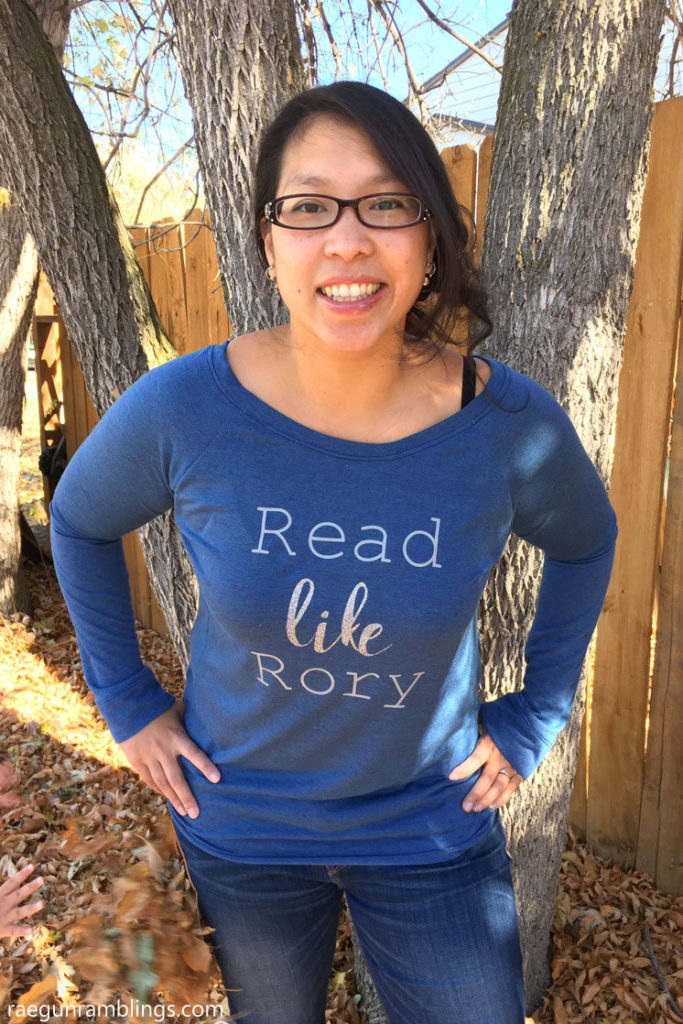
Whether you’re sewing for baby or making yourself some new clothes my favorite shirt style is the baseball tee. Today I’m going to share the simple steps for how to make raglan sleeve shirts.
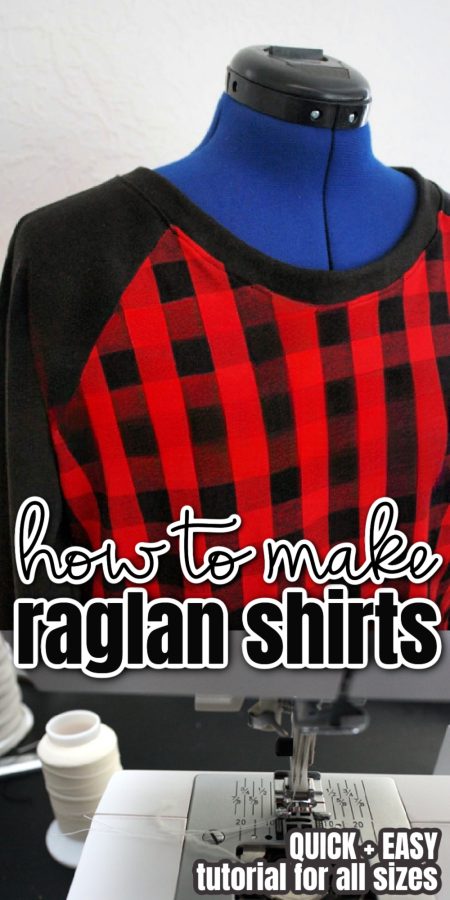
How to Sew a Raglan Shirt
Raglan refers to the way the sleeves are attached to the shirts. The raglan sleeves cut across the shoulder area instead of being sewn right around the armhole area. You probably have some tops like this already in your closet.
Some people are intimidated by sewing sleeves. There are a few places in the process that can trip people up. Luckily most people that raglan sleeves to go in way easier!
What We Love About Raglan T Shirts
There are a lot of things we love about these baseball style tops.
They are quick and easy to sew. Making it a good sewing project even for advanced beginners.
Raglan shirts are flattering. With the way the seam cuts on the diagonal of the wearer’s shoulder they tend to be a forgiving and appealing fit for all different sorts of bodies.
These shirts can be dressed up or down. By picking different materials you can use this simple shirt tutorial to make things from the coziest pjs to a dressy outfit. They are so versatile! Seriously take a time flipping through a magazine or looking at clothing and you’ll see a ton of different outfits that incorporate this basic shirt style.
Best Raglan Shirt Patterns
The way these shirts come together are the exact same whatever size you’re making and not only that but I am sharing my absolute favorite patterns for these raglan t-shirts shirts. Because even though there are plenty of patterns out there in the world these are the ones that I have found fit the best.
- Babies through 12 year olds Unisex kids raglan shirt pattern
- Tween Girls raglan shirt pattern
- Women‘s raglan shirt pattern
- Men’s raglan shirt (If any of you have a favorite let me know I’d love to test it out!)
I’ll be sewing one of these live on Facebook later today (2/21 at 1pm EST) and then I’ll edit the video down so we have a nice step by step video that you can see. But if you want to see it in real time and be able to ask questions or just hang out I’d love you to tune in!
More Simple Sewing Tutorials You’ll Love
I love sharing easy sewing projects. Here are a few that are perfect for you to try after you make those raglan sleeve shirts. See all my sewing tutorials.
- 20 minute skirt tutorial – this basic skirt is one of my favorite projects to use to teach people how to sew. If you are a confident sewer this will be a nice quick project!
- How to Shorten Sleeves – don’t throw that shirt away when it’s out of season. Use this hemming tutorial to turn long sleeve tops into short sleeves. This is super easy and a way to get more wear out of kids clothes. Also if you’re wondering how to hem knits this is the post you want!
- Scrappy Headband – turn that pile of fabric scraps into an adorable headband. Great for gifts!
What You Need to Make a Raglan Shirt
Like I mentioned above you can make these tops out of a variety of different sorts of fabrics! I have made them from all kinds of stretchy knits but I even did one where the front panel was made from a shiny brocade fabric for a fancy but still comfy feel!
I tend to make long sleeve raglan shirts but you can definitely make short sleeve ones too!
Supplies for Making Baseball Shirts
You don’t need much to make these easy to sew shirts.
- Fabric – you want to use a fabric with some kind of stretch to it.
- Thread – extra details and affiliate links
- Pattern – I have linked my favorite raglan shirt patterns above but you could even take the pattern off of a shirt you love or use a pattern you have on hand.
Tools for Making Shirts
- Sewing Machine – You just need a basic sewing machine with straight stitches, if it has a stretch stitch you may want to experiment with that.
- Serger (optional)- you don’t “have” to have a serger but it does make it way easier. Also it makes it so the seams have more stretch to them.
I use a serger and sewing machine but you an get away with making these with just a sewing machine. If you don’t have a serger though they are a really handy tool (here’s more info on how to pick a great serger).

How to Sew Raglan Shirts
It is easy to make, really just a few basic steps.
- Cut out fabric. Just follow the directions on your pattern make your you pay attention to the stretch of the fabric and direction of the prints. You want the stretch to go horizontally.
- Sew sleeves to bodice front. With right sides together sew/serge (I’ll say sew from now on but I usually use a serger. If you sew it you need to use a stretch stitch.) the front bodice piece to one of the sleeve pieces matching the front side of the sleeve to the bodice piece. Repeat for the other side.
- Sew sleeves to bodice back. With right sides together sew the back side of the sleeve pieces to the back bodice piece.
- Sew side seams. With right sides together sew down the sleeve and side seam. It should now look like a shirt.
- Make neck binding. Sew the short ends of the neck binding right sides together to make a tube. Iron in half.
- Attach neck binding. Mark the center front and back of the neck hold of the shirt as well as the binding. Pin together and sew together stretching the binding to fit as you go. In the picture below you can see sometimes you want to attach the neck binding before doing the side seams either order works it doesn’t make a difference.
- Finish the sleeves and hem. Depending on your pattern you could do this with a band similar with how you did it the neck binding in steps 5 and 6 or you can just fold the edges under and Babies through 12 year olds Unisex.
- Top stitch. If you want you can top stitch around the collar and bands.
Prep the fabric and attach the sleeves
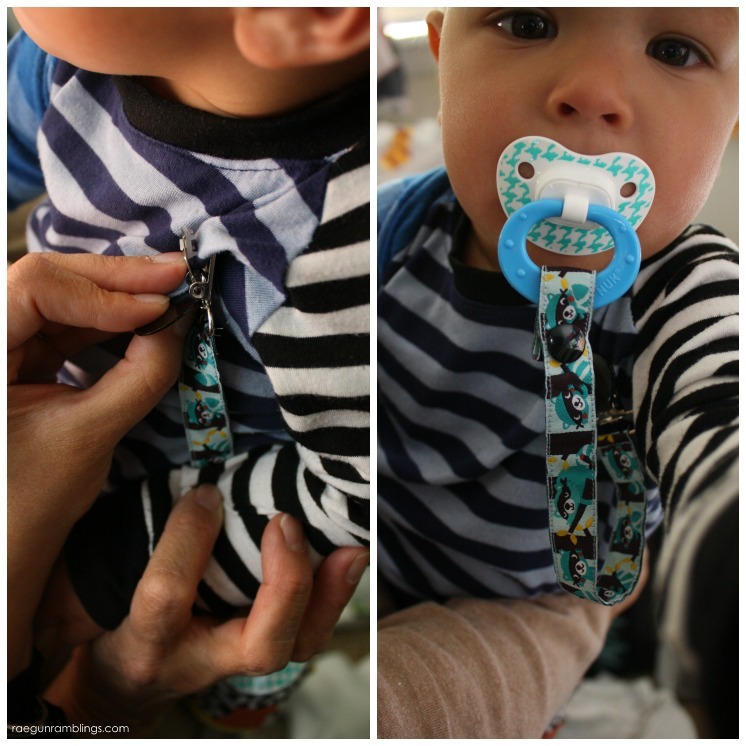
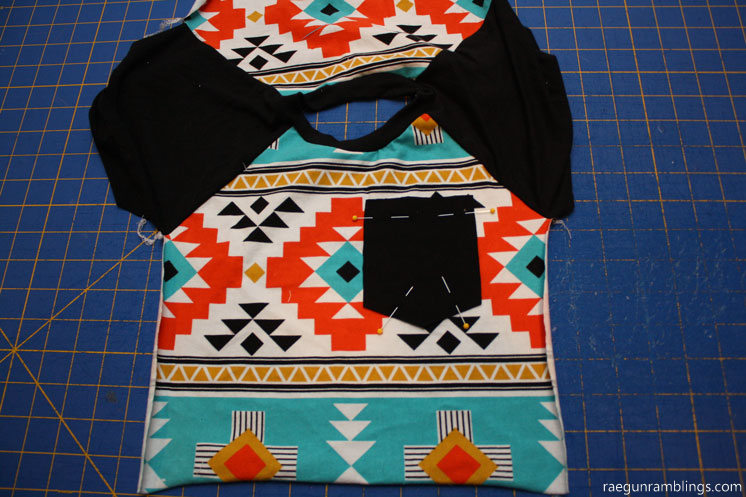
If you are going to have any embellishments you’ll want to prep that before you start sewing. If you’re just adding an iron-on you can usually get away with doing that when the shirt is finished. But if you’re doing something like sewing a pocket on like I did for these baby shirts you definitely want to do that before you start putting the shirt together.
Once your fabric is prepped you are going to sew the right side of the shirt fabric to the right side of the sleeve fabric. Make the seams the front seam is shorter than the back seam. If it doesn’t match up make sure to reposition don’t just stretch it to fit they should match up.
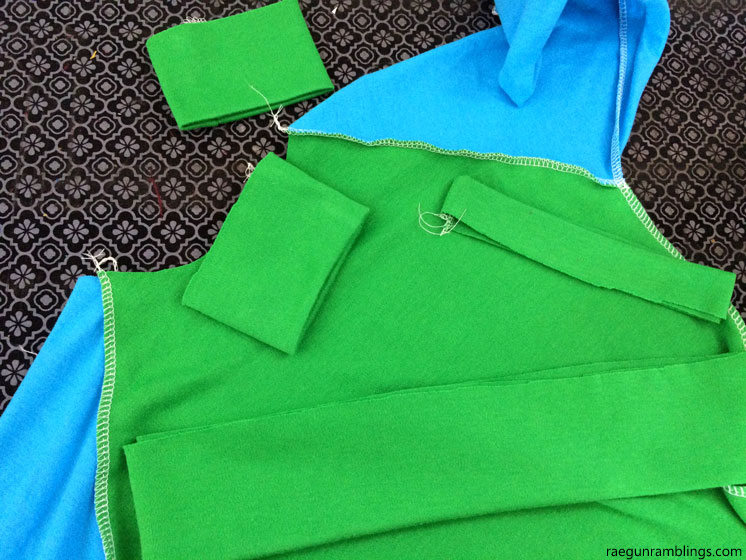
Sew the side seams and bind the neck sleeves and hem.
Next you are going to sew the side seams together from the wrist across the armpit down the side of the bodice to that waist edge. With right sides together sew down the sleeve and side seam. It should now look like a shirt.
I like to finish the edges with bindings. Bindings are basically circles of fabric you sew to the edge. This is especially nice when using a serger and way easier than hemming knits (since you need to do some tricks to keep the stretch in the fabric).
Start by making the neck binding. Sew the short ends of the neck binding piece right sides together to make a tube. Iron in half. This should leave you with a folded circle of fabric. To attach the neck binding you want to make sure to mark the center front and back of the neck hold of the shirt as well as the binding. Pin together and sew together stretching the binding to fit as you go. The binding should be smaller than the neck hole this helps it keep its shape when you’re wearing it.
Finally you need to finish the sleeves. I like using the same binding method that you do with the neck but we’d probably refer to the ones along the wrists as cuffs or a band and they typically tend to be wider. But you attach them the exact same way.
Alternatively you can fold the ends over and hem. Learn all about my trick for hemming knits and how to use special thread to keep the section stretchy.
Finally for an extra finished look you can top stitch around the collar and bands. It gives it a nice professional look but it isn’t necessary if you’re short on time.
Raglan Shirt Variations
You can use these same basic steps to make dresses or shirts out of all different kinds of fabric. Typically raglan’s are more like a type of t-shirt and made with a stretchy knit fabric. But for fun try changing up the front OR back fabric to some cool woven fabric! Since you need the stretch to make the shirt easy to get on and off and comfy to wear you want to pick only one side and keep everything els stretchy.
That’s what we did with this “fancy shirt” my kiddo requested when he told me that he had a fancy tea party at school the next day and they were allowed to dress up. This uniform wearing family has uniforms and lounge clothes lol. But luckily these shirts are so easy to whip up that I made Teddy one and he wears it all the time!
You can even embellish them with embroidery, bedding, vinyl or other sorts of decorations.
What to Do With Raglan Tops
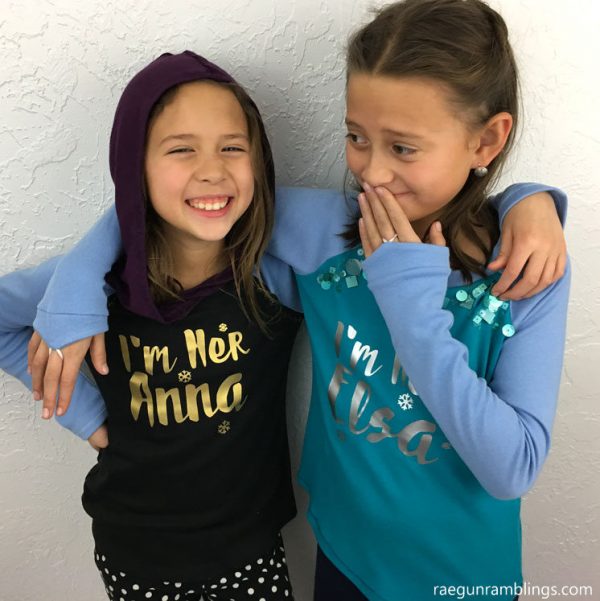
Use them anytime you want a t-shirt of course. But also keep in mind that with such simple construction that these make great holiday shirts. Got some fun festive fabric? Make a quick shirt.
Going to to Disneyland and the nieces want Anna and Elsa shirts? Raglan’s to the rescue. On theirs I sewed on some sequins to make Elsa’s extra ice queeny and I topstitched the Anna shirt with gold to give it a feel of her coronation outfit. See all the details and get the free designs at my Frozen Sisters Shirts tutorial.
How to Sew a Raglan Shirt Tutorial
Instructions
- Cut out fabric
- With right sides together sew/serge (I’ll say sew from now on but I usually use a serger. If you sew it you need to use a stretch stitch.) the front bodice piece to one of the sleeve pieces matching the front side of the sleeve to the bodice piece. Repeat for the other side.
- With right sides together sew the back side of the sleeve pieces to the back bodice piece.
- With right sides together sew down the sleeve and side seam. It should now look like a shirt.
- Sew the short ends of the neck binding right sides together to make a tube. Iron in half.
- Mark the center front and back of the neck hold of the shirt as well as the binding. Pin together and sew together stretching the binding to fit as you go.
- Finish the sleeves and hem. Depending on your pattern you could do this with a band similar with how you did it the neck binding in steps 5 and 6 or you can just fold the edges under and Babies through 12 year olds Unisex.
- If you want you can top stitch around the collar and bands.


Leave a Reply